Here’s a number that should bother you: most homeowners who learn how to repair a ceiling from water damage the hard way spend $300–$800 on patches and paint — then spend $4,000–$12,000 six months later ripping it all back out because mold had been growing behind the repair the whole time.
Nobody told them the patch was the wrong first move.
Every guide online runs the same play — stop the leak, dry it out, patch the drywall, paint. That’s not bad advice. It’s just missing the part that actually matters. The ceiling stain you can see is almost never the full story, and the repair you make based on what you can see is only as good as what you verified underneath it.
Understanding why — and what to do about it before you touch a putty knife — is what separates a $500 fix that holds from one that turns into a five-figure remediation job.
Key Takeaways
- The stain marks the end of the water’s path, not the start. Water can travel 8 feet sideways through decking and joists before it ever shows up on your ceiling.
- Mold starts within 24 to 48 hours — before the surface even feels wet to the touch.
- Drywall can feel dry and still be at 25–30% moisture content inside. A surface check with your hand tells you nothing.
- The IICRC S500 standard sets 16% moisture content as the drying benchmark for wood framing — a $30–$60 pin-type meter is the only way to actually confirm it.
- What you photograph and document in the first 48 hours often decides whether your claim gets paid or denied.
The Stain Is a Symptom, Not the Wound
Water doesn’t fall straight down through your ceiling like it’s following a road. It gets into your roof decking, wicks sideways across joists, soaks into insulation, travels along conduit — and somewhere at the end of that journey, it finally shows up on your drywall as a brown ring.
That 12-inch stain above your couch? The water that made it may have entered 8 feet away, through a nail hole in your flashing.
Most homeowners treat the stain as the target. They cut out the discolored drywall, maybe a few inches past the edge, and consider the job scoped. What they don’t account for is the path the water traveled to get there — and every inch of that path is potentially saturated material that never showed up as a visible stain.
By the time you see the stain, mold has had 24 to 48 hours to start. The stain looks like something that already happened. It isn’t. Active mold growth doesn’t announce itself with a color change right away — it starts invisibly in wet drywall paper, wet insulation, and on the face of wood framing that’s been holding moisture for days.
The area that looks damaged and the area that’s actually wet are two completely different things. A moisture meter and a thermal camera — the tools a restoration tech brings — routinely show moisture boundaries extending well beyond the visible stain.
Cut to where the meter reads dry, not to where the stain stops. That one change alone is what separates a repair that holds from one that fails behind the paint.
Why “Let It Dry” Is the Most Expensive Advice on the Internet
Box fan under the wet spot. Wait a few days. Check if it feels dry. This is what most homeowners do — and it works fine if you’re drying a damp towel. Saturated drywall with wet insulation on top of it is a different problem entirely.
Here’s what a box fan actually does: it moves room air around. That’s it. Drywall and insulation hold moisture internally, and the surface can feel completely dry to the touch while the interior reads 25–30% moisture content on a meter.
You can press your hand against it, feel nothing unusual, and be completely wrong about what’s happening inside the material. That’s the trap.
What the standard actually requires
The IICRC S500 standard — the industry benchmark for water damage restoration — requires wood framing to drop below 16% moisture content before new drywall goes up, and it requires drywall itself to match the moisture level of unaffected material elsewhere in the room before it’s considered dry. That threshold exists because above it, you have enough available moisture to sustain mold growth.
Airflow alone, even from multiple fans, rarely gets saturated drywall and framing to that level without a dehumidifier pulling the moisture out of the room’s air. The two work together:
- Airflow moves moisture out of the material and into the air
- Dehumidification pulls that moisture out of the air entirely
Fans without dehumidification just recirculate humid air through a wet room.
Patch over drywall that’s still reading above 16% and you’ve just built a mold incubator behind your ceiling. If you’re not bringing in professional drying equipment, the floor-level move is a 70-pint dehumidifier running continuously until readings drop — not a fan pointed at the ceiling. For jobs that need faster turnaround or cover a large area, commercial drying equipment is available to rent and makes a real difference in drying time.
The DIY/Pro Decision Tree Nobody Gives You
Every article on this topic gives you two options: do it yourself or call someone. That’s not how this actually works. Where you land depends on two things — whether you know for certain what caused the leak, and how far the moisture spread.
Category 1 — Safe DIY
You know exactly what caused it (toilet supply line, you already replaced it), the stain is under a foot across, the drywall is firm when you press it, and the whole thing dried within a day of the event. Your moisture meter reads below 16% at the stain center and at the edges. Go ahead — sand, shellac-based primer, repaint. This is a cosmetic fix and you can handle it.
Category 2 — DIY With Moisture Verification
Same scenario, but you’re fuzzy on how long the water was actually sitting before you found it. Pick up a pin-type moisture meter at any hardware store for $30–$60. Read the center of the stain and then 12 inches outside the visible edge in all directions. Anything above 16% and you’re not closing that ceiling yet — run the dehumidifier and recheck in 24 hours.
Category 3 — Get the Assessment, DIY the Cosmetics
The source isn’t obvious, the stain is bigger than two feet, or the drywall gives when you push it. A professional moisture assessment in DFW is not the same thing as full remediation — it’s a map of what’s actually wet and confirmation of where the water came from. Get that first. Once you have a clean reading and a confirmed source, finish the cosmetic work yourself.
Category 4 — Call It In
Visible mold covering more than 10 square feet, anything above a bathroom with recurring moisture, any stormwater or sewage source, or attic insulation that’s discolored or compressed from saturation. In North Texas, what looks like a simple ceiling stain after a hail event can escalate to a Category 2 or 3 loss if it sits — and needs proper containment, not drywall compound and a roller.
The Actual Repair Sequence (When the Science Is Done)
Source is fixed. Moisture is below 16% across the entire affected zone. No visible mold on framing or insulation. Now you repair — and in this order.
Step 1 — Cut generously. Take a utility knife or drywall saw and remove everything soft, discolored, or questionable. Find the nearest joist on each side and use that as your cut line — you need solid framing to screw your patch into. Most people don’t cut enough. Cut more than feels necessary.
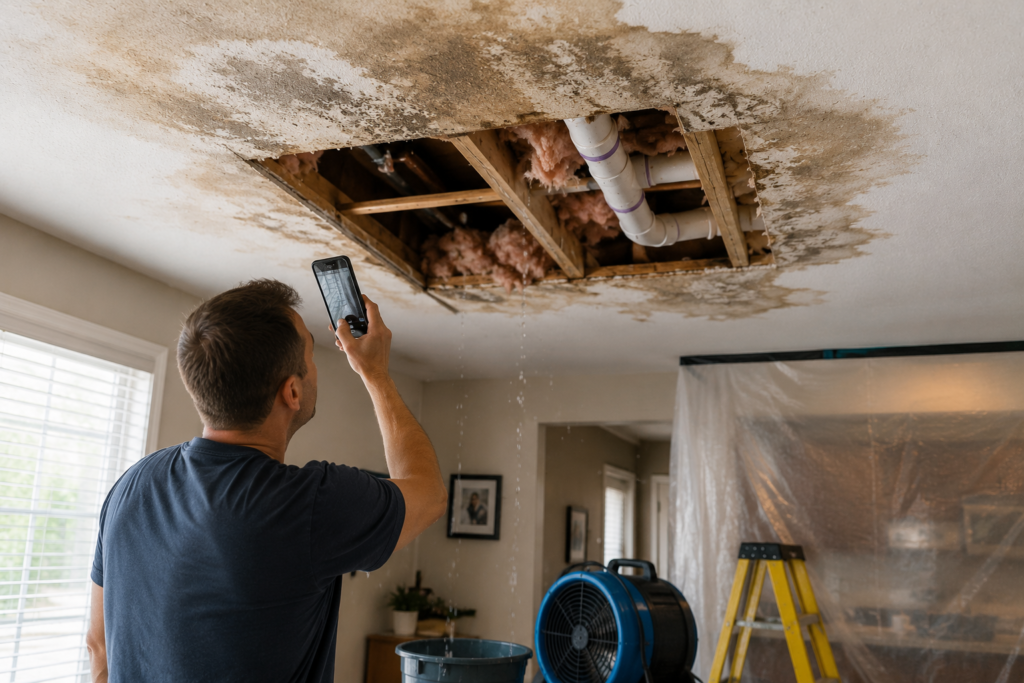
Step 2 — Look up before you close. Get a flashlight and inspect what’s above the opening before the patch goes in.
- Check the insulation — if it’s compressed, discolored, or smells musty, it needs to come out
- Look at the wood framing for dark staining or soft spots — black or green streaking on rafters or joists is fungal growth, not surface dirt
- Photograph everything before you close it up — you’ll want that documentation
Step 3 — Treat what you find. Any dark staining on framing gets treated before new drywall goes up. A mold-inhibiting encapsulant (available at any home improvement store) is the cleaner solution. A diluted bleach mix — 1 cup bleach to 1 gallon of water — works for surface treatment on wood but won’t penetrate deep fungal growth. Apply, let it dry fully, and don’t seal any residual moisture behind the new panel.
Step 4 — Patch it right. For anything under 6 inches, a California patch works well — score the back of a slightly oversized piece of drywall, snap off the gypsum core, and use the intact face paper as a backing flange. For larger openings, cut and screw 2×4 blocking boards between the joists so your patch has solid backing on all four sides. Two coats of joint compound, feathered wide beyond the patch edges, sanded smooth between coats.
Step 5 — Prime first, always. Lightly sand the ceiling around the entire repair area — not just the patch — before any primer goes on. Then hit the full water-affected zone with shellac-based primer. Zinsser BIN is the standard choice. Not latex, not water-based primer — shellac.
Water damage leaves mineral salts and tannins in drywall that will bleed through latex primer and stain your paint coat within weeks. Shellac seals them permanently. One coat shellac primer, two coats ceiling paint, and the repair disappears.
What Your Insurance Adjuster Isn’t Telling You
Homeowner’s insurance covers sudden and accidental water damage — a pipe that burst overnight, a supply line that failed, a roof penetration during a named storm event.
What it doesn’t cover is a slow drip behind your wall that’s been going for three months while you ignored the small stain. Adjusters call that “gradual damage,” and it’s excluded in nearly every standard HO-3 policy. The distinction between sudden and gradual is where most claims get denied.
The first 48 hours decide your claim
Before you touch anything — before you move furniture, before you start drying — do this:
- Photograph everything from multiple angles: wide shots for room context, close-ups of the stain, any sagging, any discoloration
- Write down the exact date and time you found it
- Note what you believe caused it, and every step you took to stop further damage
That written record, specific and dated, is what an adjuster uses to classify the loss.
Before any repairs start, ask any restoration company for a scope of loss — a written, line-item breakdown of every damaged material and what it costs to restore it. That document is your claim, and having it before you start repairs puts you in a completely different position with your carrier. Industry data puts the average water damage insurance claim at nearly $14,000, and the difference between a paid claim and an out-of-pocket bill often comes down to documentation created before anyone picked up a tool. The emergency water damage response guide here walks through exactly what to capture, in what order, and when to loop in your carrier.
Do These 3 Things This Week
1. Buy a pin-type moisture meter. Around $30–$60 at Home Depot or Lowe’s. Probe every ceiling stain you have — old ones included — and any wall that backs up to plumbing. Above 16% means water is still present in the material. You don’t need a visible wet spot or an active drip to have a moisture problem that’s feeding mold right now.
2. Take your phone into the attic. Flashlight on, photograph the sheathing above anywhere you’ve had ceiling issues — even stains that “dried out” a year ago. Dark staining on rafters, compressed or discolored insulation, water tide lines on the wood — all of it is documentation that makes an assessment accurate and fast, without a full tear-out to find it.
3. Get a moisture reading on any stain from the last 12 months. Not remediation — just a reading and a visual inspection of the cavity. DFW’s freeze-thaw winters, hail seasons, and HVAC condensation issues mean ceiling intrusions here tend to go undetected longer than they should. The cost of an inspection is a fraction of what you’ll spend when a painted-over moisture problem finally shows itself — usually right after you’ve finished repainting the room.
Texas Water Doctor is an IICRC-certified water damage and mold remediation company serving the Dallas–Fort Worth metro area. For emergency response or a professional moisture assessment, call us directly or visit our site.
External sources: EPA Mold Remediation in Schools and Commercial Buildings — Guide for Mold Cleanup | IICRC S500 Standard for Professional Water Damage Restoration